

Guaranteed compatible upgrades for:
Apple iMac 2006 (Late) Core 2 Duo 2.16 GHz 20-inch (iMac5,1)


System Specifications
Maximum Memory:
- 2GB (Original Apple specs)
- 3GB (1GB +2GB - confirmed by 100's of our customers)
Expansion:
- 2 Sockets
Standard Memory:
- 1GB (Removable)
CPU/Chipset:
- Intel Core 2 Duo 2.16 GHz
- Intel Core 2 Duo 2.33 GHz
Mfr's System P/N's:
- MA589E/A; MA589LL/A; MA589ZP/A
Upgrade Path:
- Virtually any configuration up to 3GB can be reached using any combination of 1 and 2GB modules or kits.
Comments:
- iMac5,1 20-inch Late 2006 EMC 2118
- INSTALLATION GUIDES
- - RAM upgrade guide
- - HDD/SSD upgrade guide
- - Dual HDD/SSD install guide
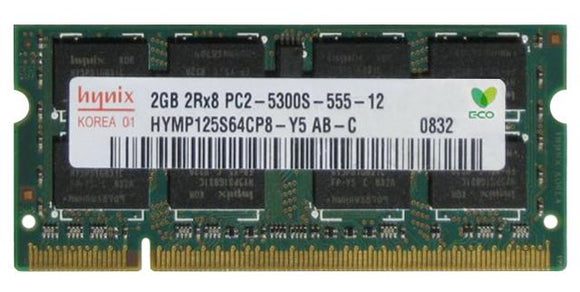
- RAM Upgrade
- Apple officially supports 2 GB of RAM in this system, but 100's of our customers have been able to upgrade it to 3 GB or 4 GB of RAM (it can hold 4 GB but cannot fully utilise the memory beyond 3 GB due to approximately 700 MB of the RAM in the 3-4GB memory space being required for critical system functions). Choose your RAM modules on the left. The only tools you need is a Phillips #1 Screwdriver. Then follow this guide to install the RAM.
- HDD->HDD
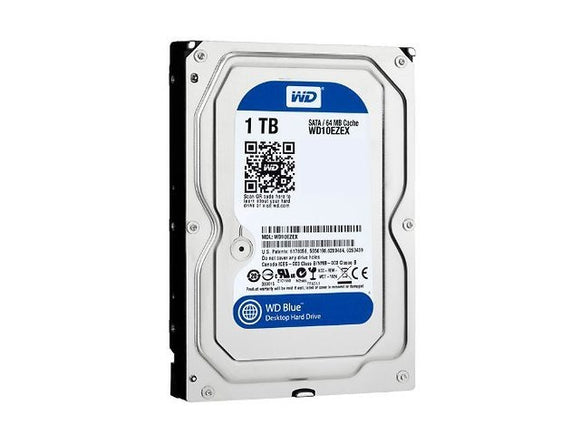
- This iMac has a 160GB 3.5-inch factory HDD connected to a 1.5 Gb/s SATA port. To upgrade the existing HDD, you’ll need a larger 3.5-inch HDD along with the Essential Electronics Toolkit and a set of Plastic Opening Cards. No additional thermal sensor cable was needed in iMac’s up to the late 2009 models.
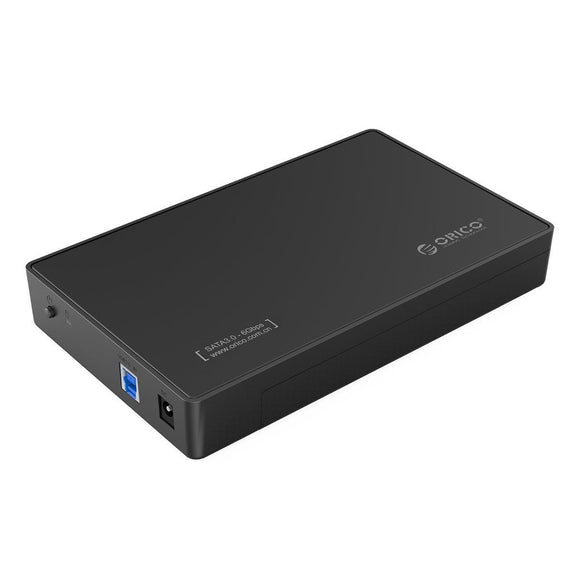
- To clone your existing OS/app setup first, purchase an external 3.5-inch HDD enclosure or dock and put your new HDD in it, then use the Super Duper app to perform the clone, then switch the drives. The enclosure can also house your old HDD.
- HDD->SSD
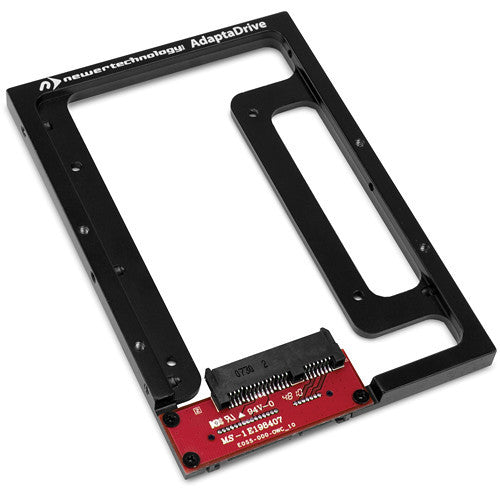
- Even though this machine has a first generation SATA port, significant I/O and data transfer rate gains can be had by upgrading the factory 3.5-inch HDD to an SSD. For this, you’ll need to purchase any 2.5-inch SSD along with the same Essential Electronics Toolkit and Plastic Cards. Plus, you’ll need to add in the OWC Adaptadrive 3.5-inch to 2.5-inch drive converter.
- To clone your existing OS/app setup first, purchase a cloning cable or 2.5-inch HDD/SDD enclosure to connect your new SSD to your mac, then use the Super Duper app to perform the clone, then switch the drives. Your old 3.5-inch HDD can be housed in this enclosure.
- HDD->HDD
- This iMac has a 250GB 3.5-inch factory HDD connected to a 1.5 Gb/s SATA port. To upgrade the existing HDD, you’ll need a larger 3.5-inch HDD along with the Essential Electronics Toolkit and a set of Plastic Opening Cards. No additional thermal sensor cable is needed in iMac’s up to the late 2009 models.
- To clone your existing OS/app setup first, purchase an external 3.5-inch HDD enclosure or dock and put your new HDD in it, then use the Super Duper app to perform the clone, then switch the drives. The enclosure can also house your old HDD.
- HDD->SSD
- Even though this machine has a first generation SATA port, significant I/O and data transfer rate gains can be had by upgrading the factory 3.5-inch HDD to an SSD. For this, you’ll need to purchase any 2.5-inch SSD along with the same Essential Electronics Toolkit and Plastic Cards. Plus, you’ll need to add in the OWC Adaptadrive 3.5-inch to 2.5-inch drive converter.
- To clone your existing OS/app setup first, purchase a cloning cable or 2.5-inch HDD/SDD enclosure to connect your new SSD to your mac, then use the Super Duper app to perform the clone, then switch the drives. Your old 3.5-inch HDD can be housed in this enclosure.
- HDD + HDD/SSD
- It’s also possible to add in a HDD/SSD by removing and replacing the existing Optical Drive. For this, you’ll need to purchase any 2.5-inch SSD along with the same Essential Electronics Toolkit and Plastic Cards. Plus, you’ll need to add in the Optical Bay SATA HDD/SSD Enclosure.